
Librify App Basic Guide
Get a complete overview of the Librify app—learn how to manage students, seats, reports, and revenue all in one place!
Comprehensive Step-by-Step Guide
Official GuideWhat You'll Learn: • The 5 main pages (Home, Student, Seat Map, Report, Revenue) • How to add and manage students • How to check seat bookings and status • How to track reports and revenue Main Features: • Home Page: Overview of pending payments, new requests, and upcoming subscription expiries. • Student Page: Complete student management (edit, delete, renew, share receipts). • Seat Map: Visual seat booking status with color coding. • Report: Daily/monthly reports, payment dues, subscription expiries. • Revenue: Track revenue by month/week/year, view transaction details. Pro Tip: Try Librify's 1-month free premium trial and share your feedback—we're always improving!
Need assistance setting up your library?
Get in touch with the Librify support team or explore our free app.
More Tutorials
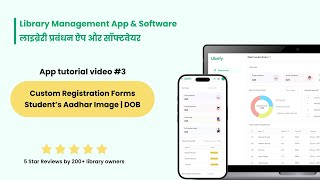
How to Customize Student Registration Form
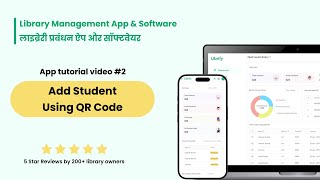
How to Add Student Using QR
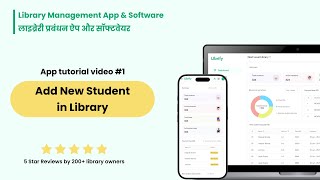
How to Add New Student in Library
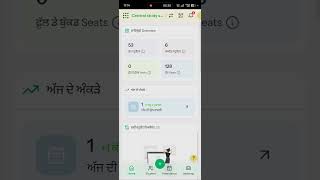
How to Change Language in Library System
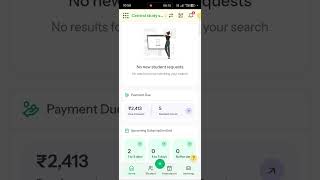
Library Payment Due Management
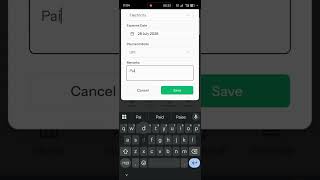
Library Expense Management
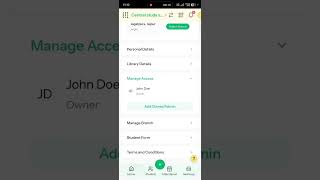
Add Multiple Admin and Staff Access
Student Registration via QR Code
Library Shift Management—Edit Shift Timings
Library Premium Plans—Upgrade & Renewal
Add New Library Branch—Multiple Branches
Edit Library Settings & Details—Profile Update